VAR-SOM-AM33 Linux Eclipse
Introduction
This wiki will explain how to use eclipse to develop simple application for Variscite VAR-SOM-AM33.
Download and install
Download from:
$ cd ~/
$ tar xvf ../Downloads/eclipse-cpp-kepler-SR1-linux-gtk-x86_64.tar.gz
Run Eclipse:
$ eclipse/eclipse &
Set your workspace:
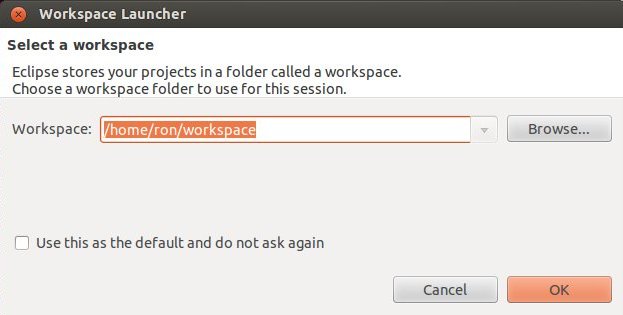
You can select any folder you like.
Close the "welcome window".
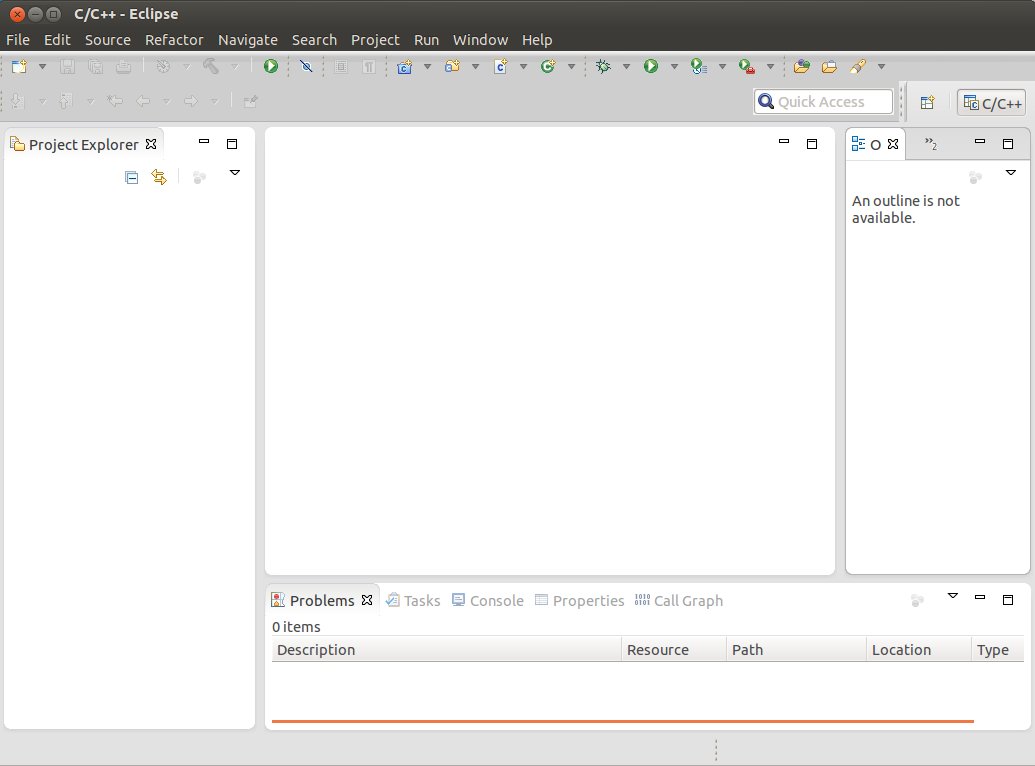
You should be at:
Eclipse installations of additional packages
- Start the Eclipse IDE.
- Make sure you are in your Workbench and select "Install New Software" from the "Help" pull-down menu.
- Select Kepler - http://download.eclipse.org/releases/kepler from the "Work with:" pull-down menu.
- Expand the box next to "Linux Tools" and select the LTTng - Linux Tracing Toolkit boxes.
- Expand the box next to "Mobile and Device Development" and select the following boxes:
- C/C++ Remote Launch
- Remote System Explorer End-user Runtime
- Remote System Explorer User Actions
- Target Management Terminal
- TCF Remote System Explorer add-in
- TCF Target Explorer
- Expand the box next to "Programming Languages" and select the Autotools Support for CDT and C/C++ Development Tools boxes.
- Complete the installation and restart the Eclipse IDE.
Some of the packages may be already installed.
Change target password
$ passwd
use root as password type 3 times.
Create a simple project for VAR-SOM_AM33
Create a new project:
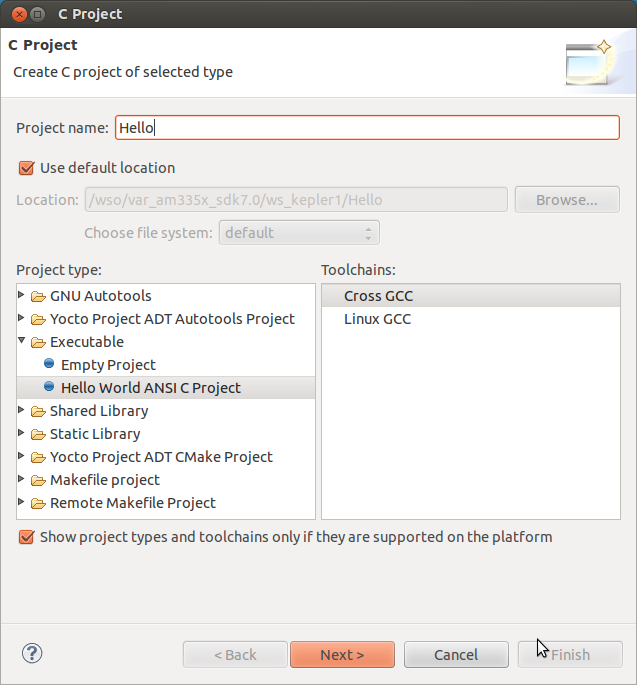
Set basic information:
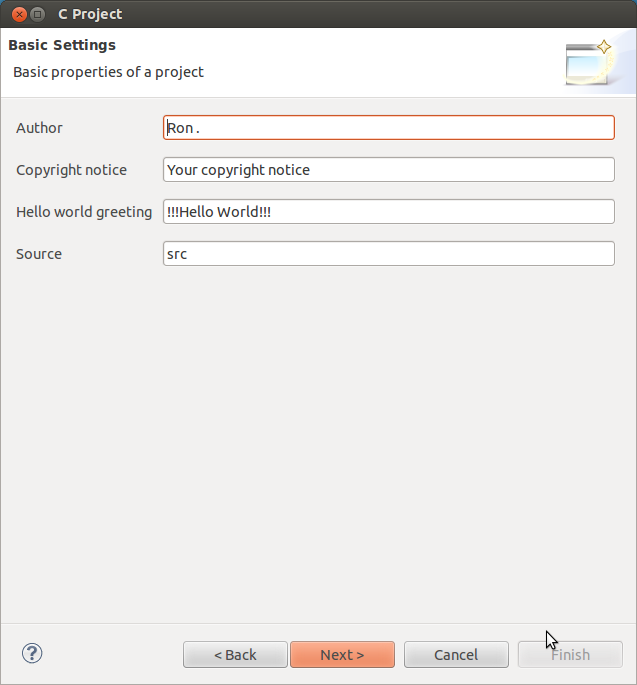
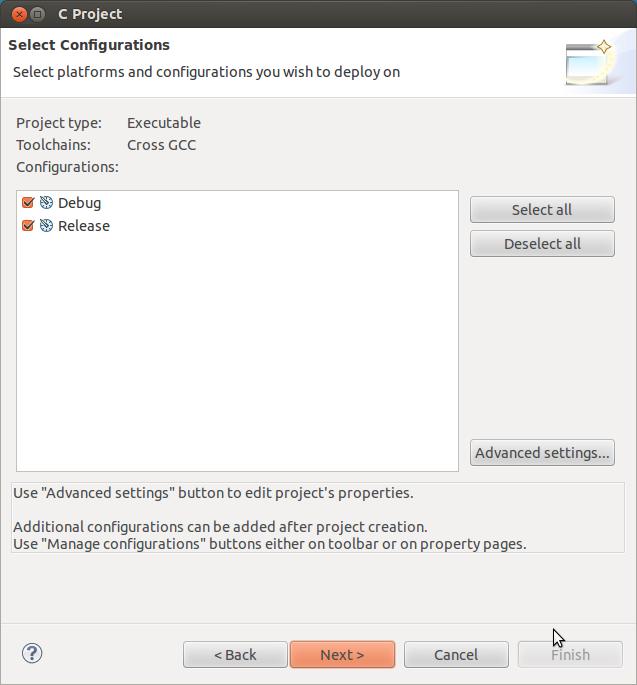
Just click next for the default:
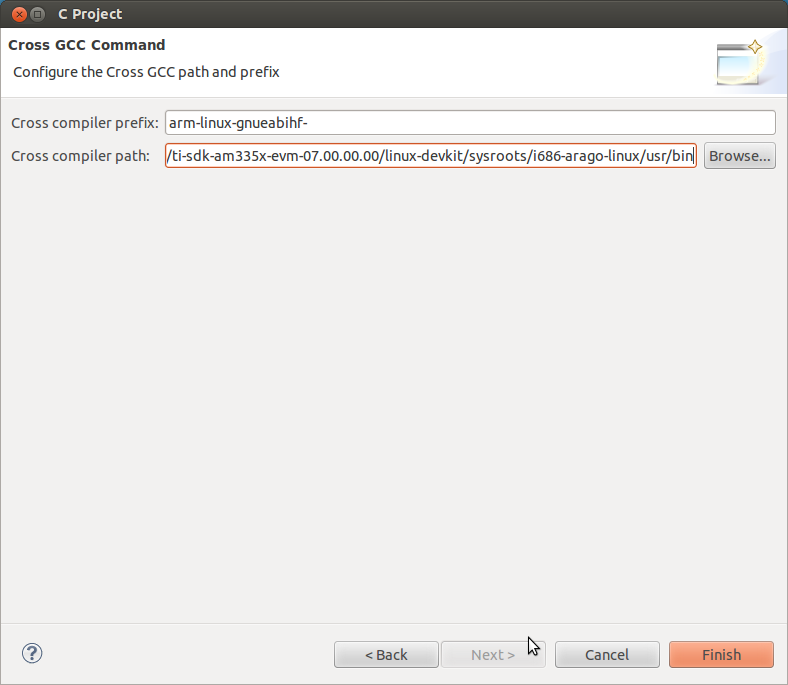
Set the tools path and prefix. Browse to the actual SDK location:
Expand the Hello project select the Console tab and hit ctrl b :
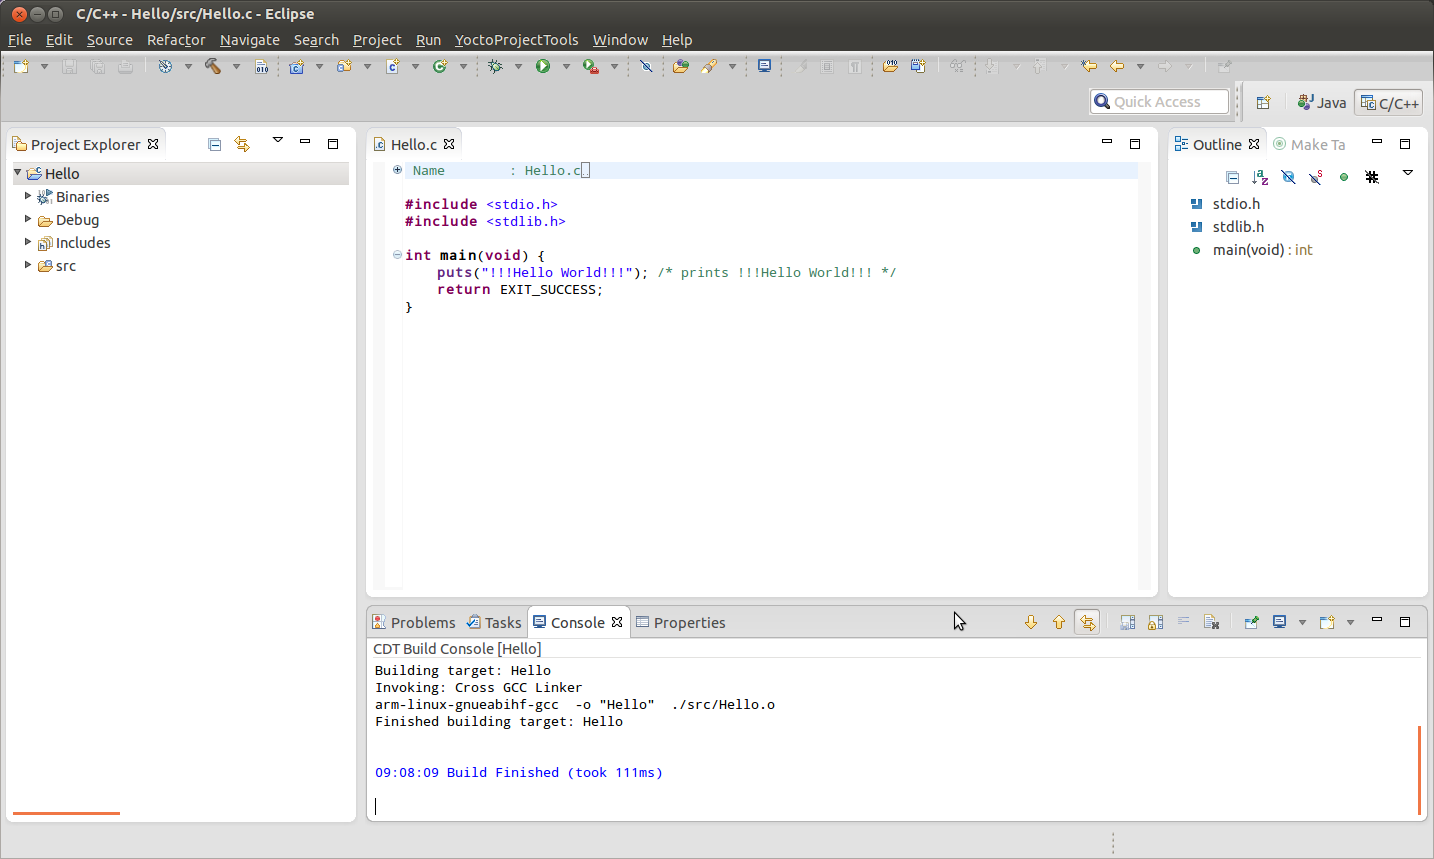
Project is built and ready to be debuged.
Create communication link to VAR-SOM_AM33 taregt
Switch to Remote System Explorer tab:
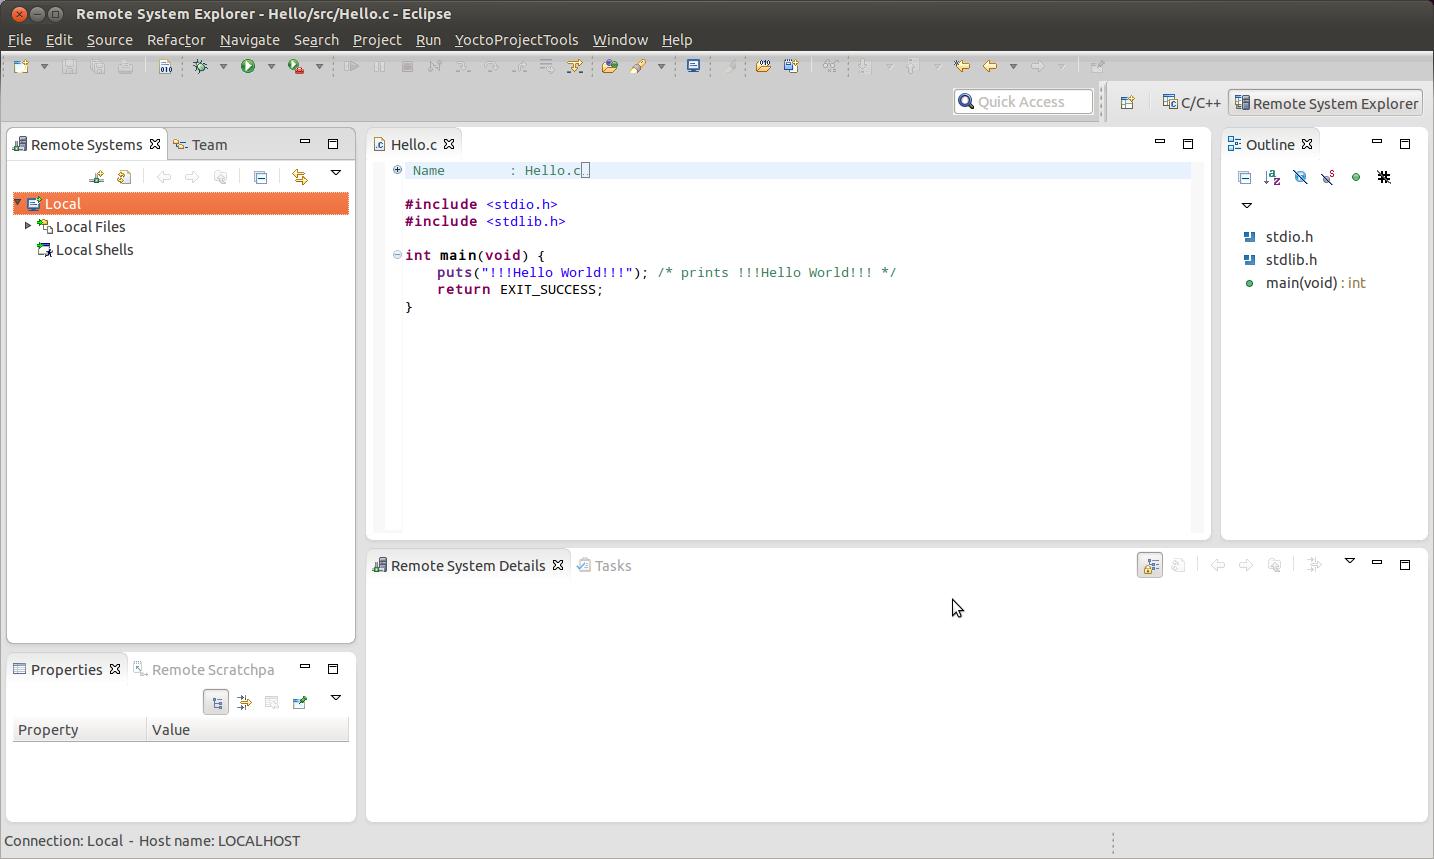
Create a new connection select SSH only:
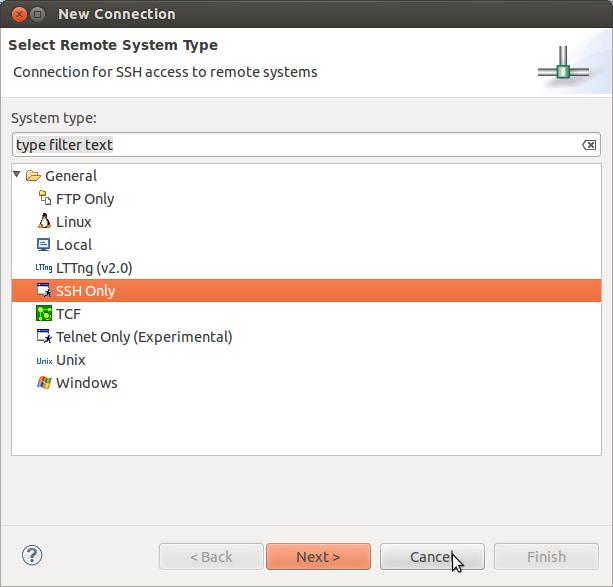
Set target IP and name:
File:Am33 remote3.jpg
Hit finish to create the remote connection.
Right click on the new connection name and hit connect.
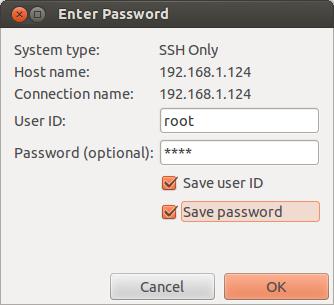
Enter user name and password. Use root/root for both:
