VAR-SOM-MX6 Yocto GS eclipse
Variscite added the required packages to the build images fsl-image-test and fsl-image-gui to enable Eclipse based Yocto development.
This guide will describe how to install and use Eclipse/Yocto to develop application to run on VAR-SOM-MX6.
Detail information can be found:
http://www.yoctoproject.org/docs/latest/mega-manual/mega-manual.html#application-development-workflow
We tried to make this wiki as simple as possible.
Host tools
Build
make sure you are your build directory and environment are set correctly.
$ . ./setup-environment build_mx6q/
Build the tools:
$ bitbake meta-ide-support
$ bitbake meta-toolchain adt-installer
The result are a tools installer
$ ls tmp/deploy/sdk/
The results should be:
adt_installer.tar.bz2 poky-eglibc-x86_64-meta-toolchain-cortexa9hf-vfp-neon-toolchain-1.5.1.sh
Install
$ tmp/deploy/sdk/poky-eglibc-x86_64-meta-toolchain-cortexa9hf-vfp-neon-toolchain-1.5.1.sh
When system prompt "Enter target directory for SDK (default: /opt/poky/1.5.1):" hit enter.
When system prompt "You are about to install the SDK to "/opt/poky/1.5.1". Proceed[Y/n]?" hit Y and enter.
An install log should look like:
 tmp/deploy/sdk/poky-eglibc-x86_64-meta-toolchain-cortexa9hf-vfp-neon-toolchain-1.5.1.sh
 Enter target directory for SDK (default: /opt/poky/1.5.1):
 You are about to install the SDK to "/opt/poky/1.5.1". Proceed[Y/n]?Y
 Extracting SDK...done
 Setting it up...done
 SDK has been successfully set up and is ready to be used.
Eclipse installation
The following steps will guide you how to download and install Eclipse Keler CDT SR1.
Download and install
Download from:
$ cd ~/
$ tar xvf ../Downloads/eclipse-cpp-kepler-SR1-linux-gtk-x86_64.tar.gz
Run Eclipse:
$ eclipse/eclipse &
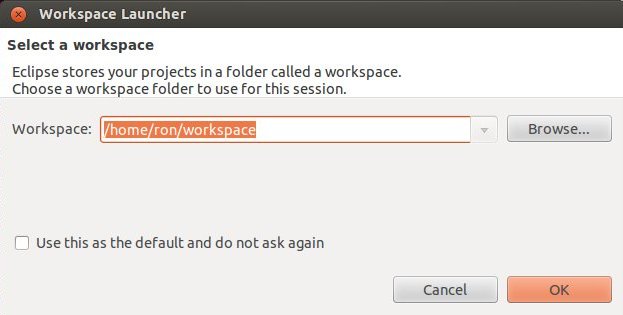
Set your workspace:

You can select any folder you like.
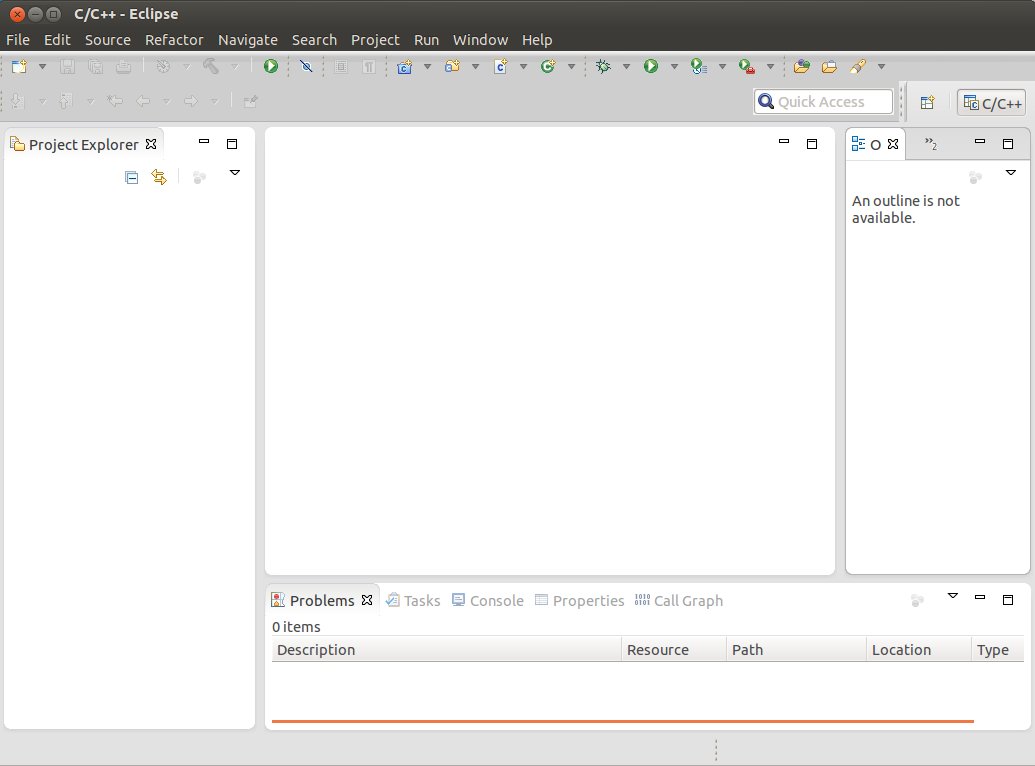
Close the "welcome window".
You should be at:

Eclipse install additional packages
- Start the Eclipse IDE.
- Make sure you are in your Workbench and select "Install New Software" from the "Help" pull-down menu.
- Select Kepler - http://download.eclipse.org/releases/kepler from the "Work with:" pull-down menu.
- Expand the box next to "Linux Tools" and select the LTTng - Linux Tracing Toolkit boxes.
- Expand the box next to "Mobile and Device Development" and select the following boxes:
- C/C++ Remote Launch
- Remote System Explorer End-user Runtime
- Remote System Explorer User Actions
- Target Management Terminal
- TCF Remote System Explorer add-in
- TCF Target Explorer
- Expand the box next to "Programming Languages" and select the Autotools Support for CDT and C/C++ Development Tools boxes.
- Complete the installation and restart the Eclipse IDE.
Some of the packages may be already installed.
Yocto plug-in
There are more then one option to get the plug-in. We selected to use: Pre-built Plug-in from the Yocto Project Eclipse Update Site
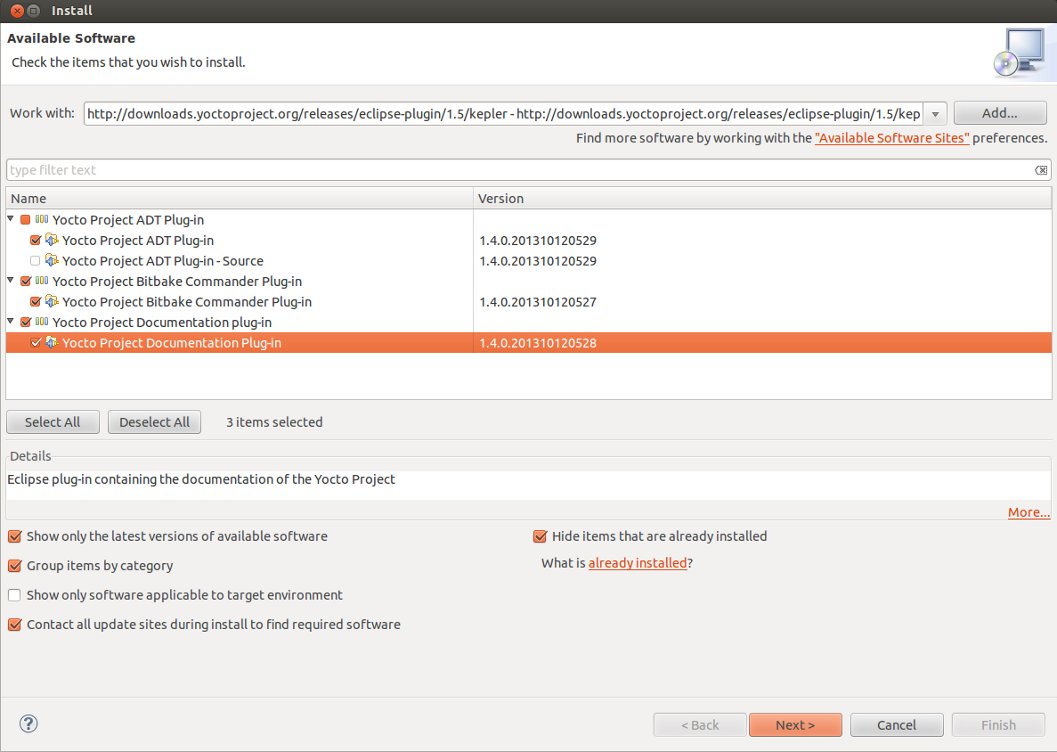
To install the Eclipse Yocto Plug-in from the update site, follow these steps:
- Start up the Eclipse IDE.
- In Eclipse, select "Install New Software" from the "Help" menu.
- Click "Add..." in the "Work with:" area.
- Enter http://downloads.yoctoproject.org/releases/eclipse-plugin/1.5/kepler in the URL field and provide a meaningful name in the "Name" field.
- Click "OK" to have the entry added to the "Work with:" drop-down list.
- Select the entry for the plug-in from the "Work with:" drop-down list.
- Check the boxes next to Yocto Project ADT Plug-in, Yocto Project Bitbake Commander Plug-in, and Yocto Project Documentation plug-in.
- Complete the remaining software installation steps and then restart the Eclipse IDE to finish the installation of the plug-in.
Configuring the Eclipse Yocto Plug-in
Configuring the Eclipse Yocto Plug-in involves setting the Cross Compiler options and the Target options. The configurations you choose become the default settings for all projects. You do have opportunities to change them later when you configure the project (see the following section). To start, you need to do the following from within the Eclipse IDE:
- Choose "Preferences" from the "Windows" menu to display the Preferences Dialog.
- Click "Yocto Project ADT".
Configuring the Cross-Compiler Options
To configure the Cross Compiler Options, you must select the type of toolchain, point to the toolchain, specify the sysroot location, and select the target architecture.
- Selecting the Toolchain Type: Choose between Standalone pre-built toolchain and Build system derived toolchain for Cross Compiler Options.
- Standalone Pre-built Toolchain: Select this mode when you are using a stand-alone cross-toolchain. For example, suppose you are an application developer and do not need to build a target image. Instead, you just want to use an architecture-specific toolchain on an existing kernel and target root filesystem.
- Build System Derived Toolchain: Select this mode if the cross-toolchain has been installed and built as part of the Build Directory. When you select Build system derived toolchain, you are using the toolchain bundled inside the Build Directory.
- Point to the Toolchain: If you are using a stand-alone pre-built toolchain, you should be pointing to where it is installed. If you used the ADT Installer script and accepted the default installation directory, the toolchain will be installed in the /opt/poky/1.6 directory. Sections "Configuring and Running the ADT Installer Script" and "Using a Cross-Toolchain Tarball" in the Yocto Project Application Developer's Guide describe how to install a stand-alone cross-toolchain.
If you are using a system-derived toolchain, the path you provide for the Toolchain Root Location field is the Build Directory. See the "Using BitBake and the Build Directory" section in the Yocto Project Application Developer's Guide for information on how to install the toolchain into the Build Directory.
- Specify the Sysroot Location: This location is where the root filesystem for the target hardware resides. If you used the ADT Installer script and accepted the default installation directory, then the location is /opt/poky/<release>. Additionally, when you use the ADT Installer script, the same location is used for the QEMU user-space tools and the NFS boot process.
   If you used either of the other two methods to install the toolchain or did not accept the ADT Installer script's default installation directory, then the location of the sysroot filesystem depends on where you separately extracted and installed the filesystem.
   For information on how to install the toolchain and on how to extract and install the sysroot filesystem, see the "Installing the ADT and Toolchains" section.
- Select the Target Architecture: The target architecture is the type of hardware you are going to use or emulate. Use the pull-down Target Architecture menu to make your selection. The pull-down menu should have the supported architectures. If the architecture you need is not listed in the menu, you will need to build the image. See the "Building an Image" section of the Yocto Project Quick Start for more information.
Configuring the Target Options
You can choose to emulate hardware using the QEMU emulator, or you can choose to run your image on actual hardware.
QEMU: Select this option if you will be using the QEMU emulator. If you are using the emulator, you also need to locate the kernel and specify any custom options.
If you selected Build system derived toolchain, the target kernel you built will be located in the Build Directory in tmp/deploy/images/<machine> directory. If you selected Standalone pre-built toolchain, the pre-built image you downloaded is located in the directory you specified when you downloaded the image.
Most custom options are for advanced QEMU users to further customize their QEMU instance. These options are specified between paired angled brackets. Some options must be specified outside the brackets. In particular, the options serial, nographic, and kvm must all be outside the brackets. Use the man qemu command to get help on all the options and their use. The following is an example:
serial ‘<-m 256 -full-screen>’
Regardless of the mode, Sysroot is already defined as part of the Cross-Compiler Options configuration in the Sysroot Location: field.
External HW: Select this option if you will be using actual hardware.
Click the "OK" to save your plug-in configurations.

